Pallet Planter
Pallet Planter
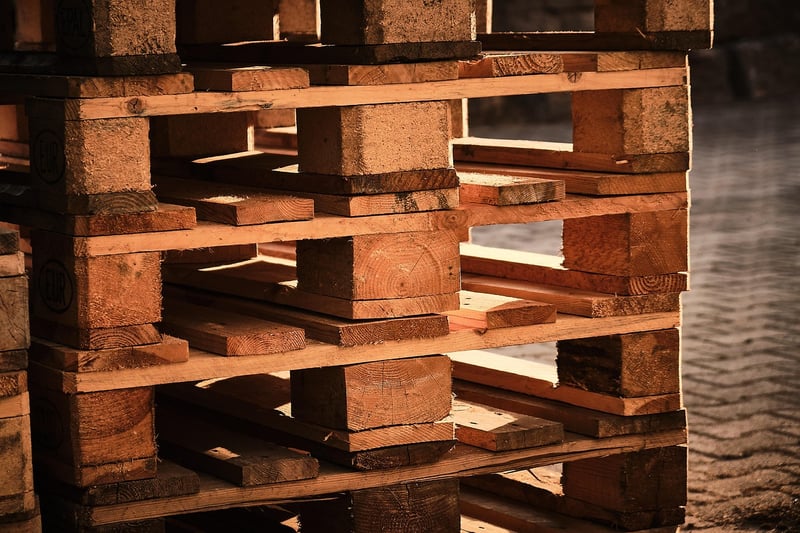
Get Crafty with Hands-On Projects: Creating a Pallet Planter
Welcome to the world of hands-on projects! If you're looking to add a touch of creativity to your space, creating a pallet planter is a fantastic DIY project that not only enhances your decor but also allows you to flex your crafting skills.
Materials You'll Need:
- Wooden pallet
- Landscaping fabric
- Staple gun
- Soil and plants
- Paint (optional)
- Tools: hammer, nails, saw (if modifications are needed)
Steps to Create Your Pallet Planter:
- Prepare your pallet by sanding it down to smooth any rough edges.
- Line the back and sides of the pallet with landscaping fabric, securing it with a staple gun. This will prevent soil from spilling out.
- If you wish, paint the pallet with your desired color to match your decor theme.
- Fill the pallet with soil, leaving enough space for plants to be inserted.
- Plant your favorite flowers or herbs in the individual sections of the pallet.
- Water your plants adequately and find a suitable spot to hang or place your pallet planter.
Voila! You now have a beautiful pallet planter ready to adorn your garden, balcony, or any indoor space. Get creative with the plant combinations and enjoy the process of watching your mini garden grow.
Embark on this DIY journey and unleash your inner artist with this pallet planter project. It's a fun and rewarding way to personalize your living space while incorporating nature into your surroundings.
So, gather your materials, roll up your sleeves, and let your imagination bloom with this hands-on project!
Image sources: Pallet Planter, Pallet Planter with Plants